Tech blog
Guacamole! No, not the dip...

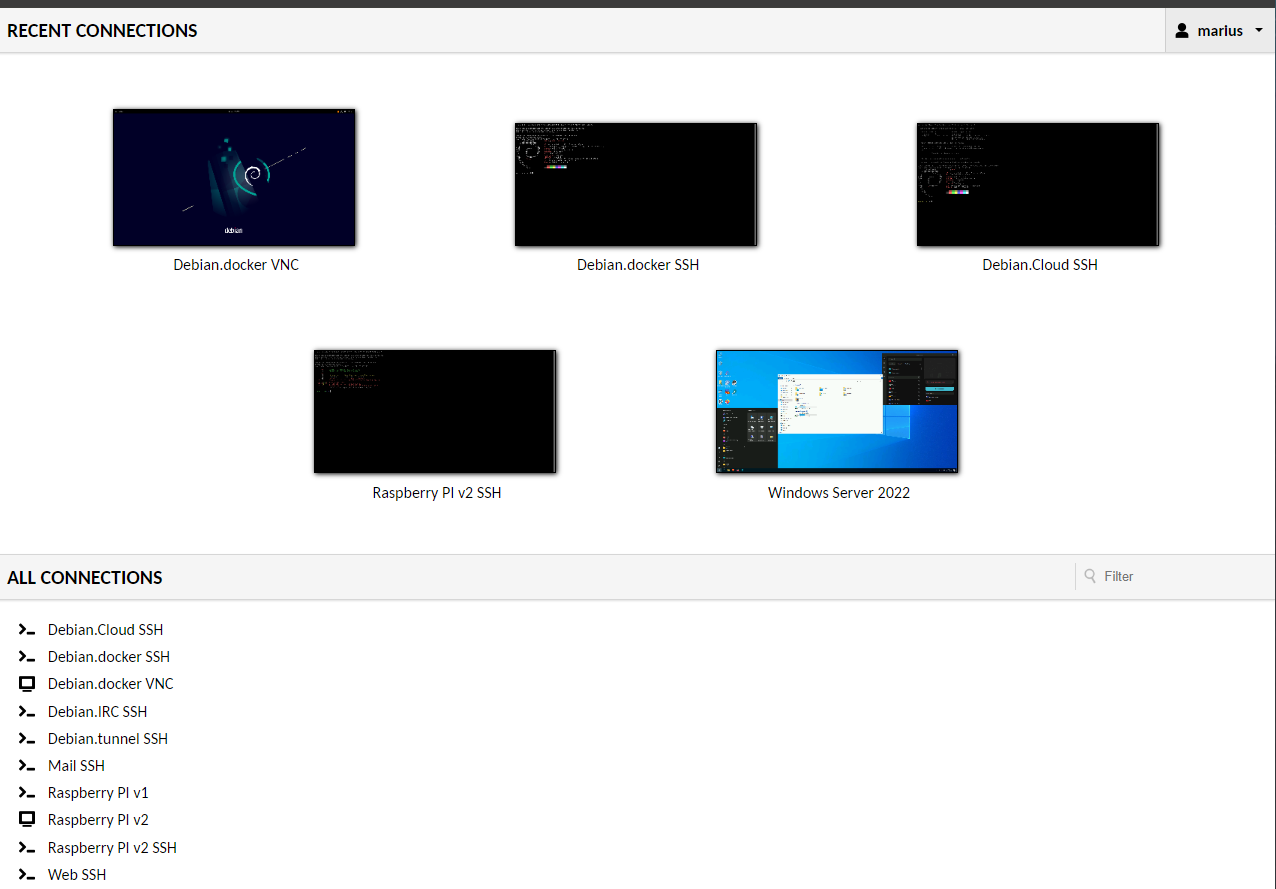
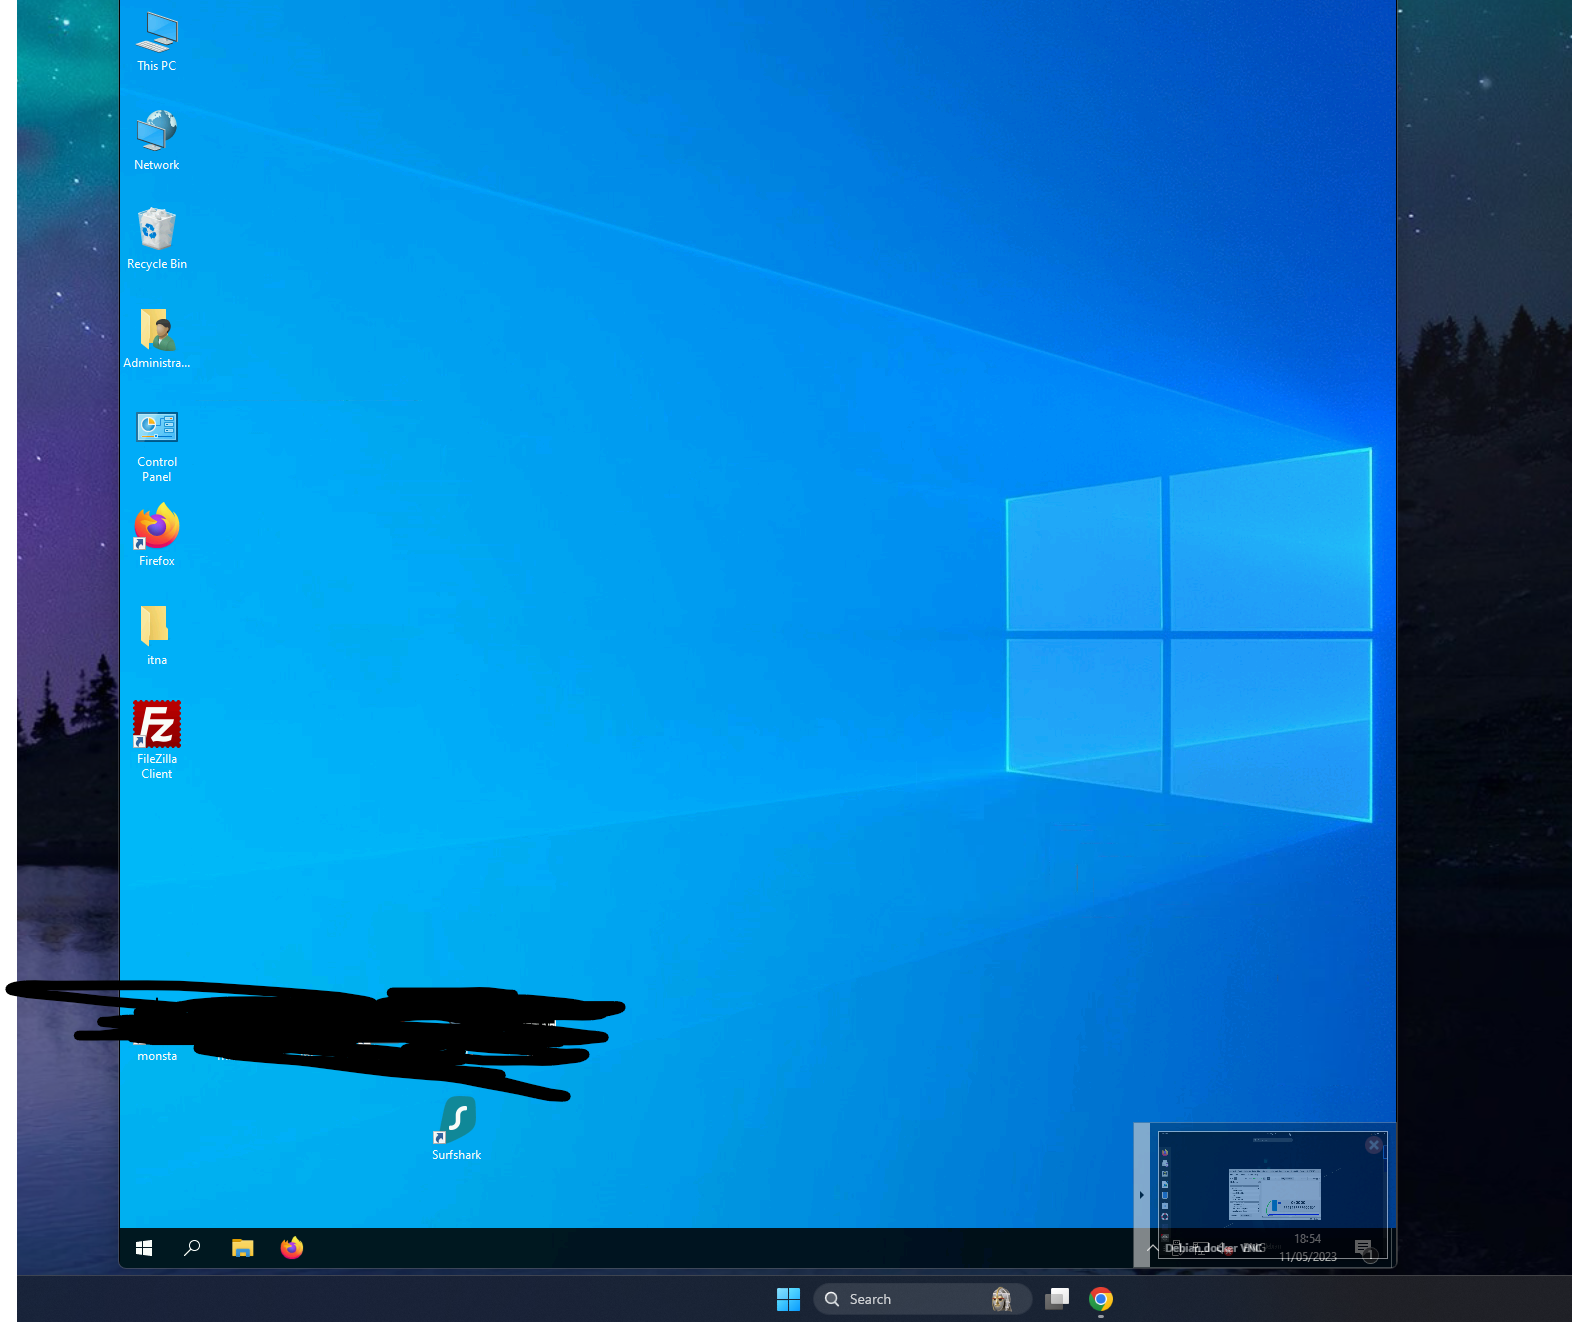
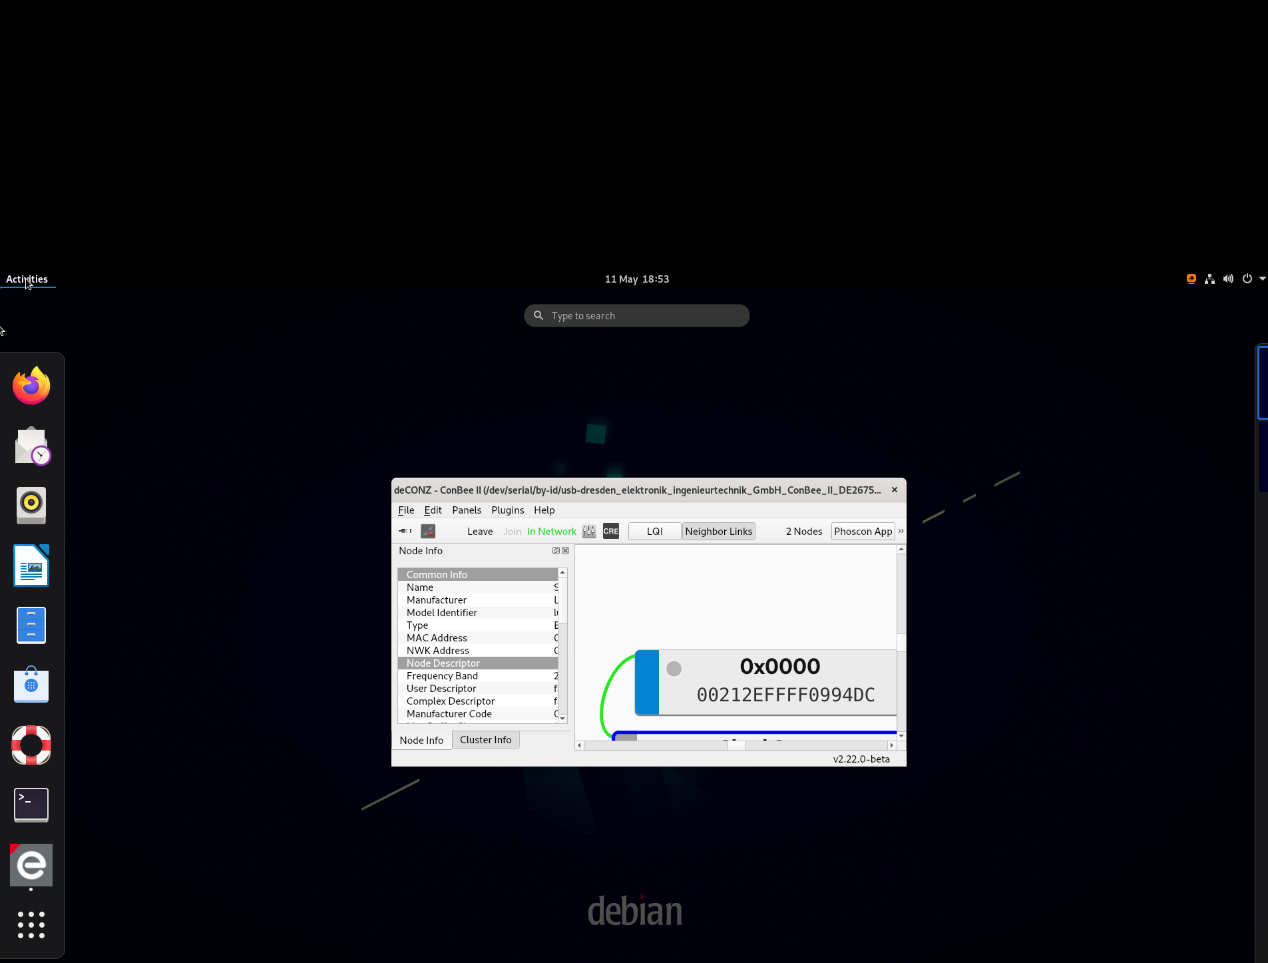
If you've been looking for a way to access your VM instances in a safe and secure manner, look no further! I found it ð
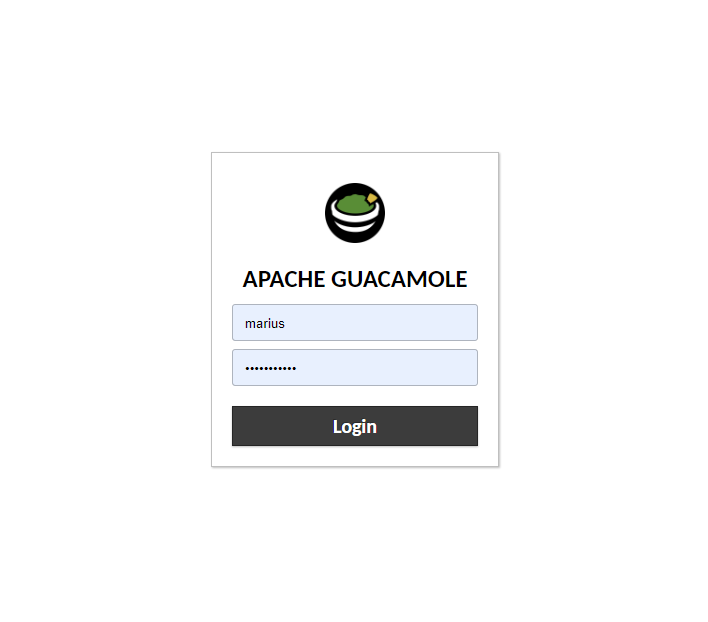
Guacamole is a clientless remote desktop gateway that provides secure access to your desktop and servers from anywhere. With Guacamole, you can access all your virtual machines from a web browser without installing any software on your local machine.
Prerequisites:
Before we begin, make sure that you have the following prerequisites in place:
- A home lab setup with virtual machines.
- A Linux server to install Guacamole on.
- Apache web server installed and running.
- MySQL or MariaDB database installed and running.
Install Guacamole server
The first step is to install Guacamole on your Linux server. The easiest way to install Guacamole is by using the pre-built packages available for your Linux distribution. (After this, I tried dockerizing it and that works just as well, so if you want to use docker, go right ahead.)
For Debian or Ubuntu:
sudo apt-get install guacamoleFor CentOS or Fedora:
sudo yum install guacamoleConfigure MySQL or MariaDB database
Guacamole stores all its configuration data and user credentials in a database. You can use either MySQL or MariaDB as the database backend for Guacamole.
To configure the database, first create a new database and user for Guacamole:
mysql -u root -p

CREATE DATABASE guacamole_db;
CREATE USER 'guacamole_user'@'localhost' IDENTIFIED BY 'your_password';
GRANT ALL PRIVILEGES ON guacamole_db.* TO 'guacamole_user'@'localhost';
FLUSH PRIVILEGES;
EXIT;
Next, you need to create the Guacamole database schema and tables:
sudo cat /usr/share/doc/guacamole-server/mysql/schema/*.sql | mysql -u guacamole_user -p guacamole_dbGuacamole configuration:
Now that the database is set up, it's time to configure Guacamole.
Edit the Guacamole configuration file /etc/guacamole/guacamole.properties and add the following lines:
guacd-hostname: localhost
guacd-port: 4822
mysql-hostname: localhost
mysql-port: 3306
mysql-database: guacamole_db
mysql-username: guacamole_user
mysql-password: your_password
These lines tell Guacamole to connect to the local MySQL database and use the guacamole_user user with the specified password.
Apache web server configuration:
The final step is to configure the Apache web server to serve the Guacamole web application.
Create a new Apache virtual host file /etc/apache2/sites-available/guacamole.conf with the following content:
<VirtualHost *:80>
    ServerName your_server_name_or_ip_address

    ErrorLog ${APACHE_LOG_DIR}/guacamole_error.log
    CustomLog ${APACHE_LOG_DIR}/guacamole_access.log combined

    ProxyPass / http://localhost:8080/guacamole/ flushpackets=on
    ProxyPassReverse / http://localhost:8080/guacamole/
    ProxyPreserveHost on
    ProxyRequests Off
</VirtualHost>
Replace your_server_name_or_ip_address with the name or IP address of your server.
Enable the new virtual host:
sudo a2ensite guacamole.conf
sudo systemctl reload apache2
You should now be able to access your guacamole instance by navigating to http://your_server_name_or_ip_address/ in your web browser.
Comments
0 total