

In this blog post, I’ll walk you through the process of installing KASM, a popular Remote Browser Isolation (RBI) solution, as the main workspace on a home lab using a virtual machine (VM) in Proxmox. This setup will enable you to securely isolate web browsing activities, protecting your network and sensitive data from potential web-based threats.
Prerequisites
Before we dive into the installation process, ensure you have the following prerequisites:
- Proxmox VE Installed: Proxmox Virtual Environment (VE) should be installed and running on your server.
- VM with Ubuntu: A virtual machine running Ubuntu (preferably the latest LTS version) should be set up in Proxmox.
- Sufficient Resources: Ensure the VM has adequate CPU, RAM, and storage to handle KASM and its workloads.
- Network Configuration: Proper network configuration to access the internet and local resources from the VM.
Step 1: Setting Up the Ubuntu VM in Proxmox
- Create a New VM:
- Log in to the Proxmox web interface.
- Click on “Create VM” and follow the wizard to set up a new VM.
- Choose Ubuntu as the operating system and allocate sufficient resources (e.g., 4 CPUs, 8GB RAM, and 50GB storage).
- Install Ubuntu:
- Attach the Ubuntu ISO to the VM and start it.
- Follow the on-screen instructions to install Ubuntu.
- Ensure the system is updated after installation by running:
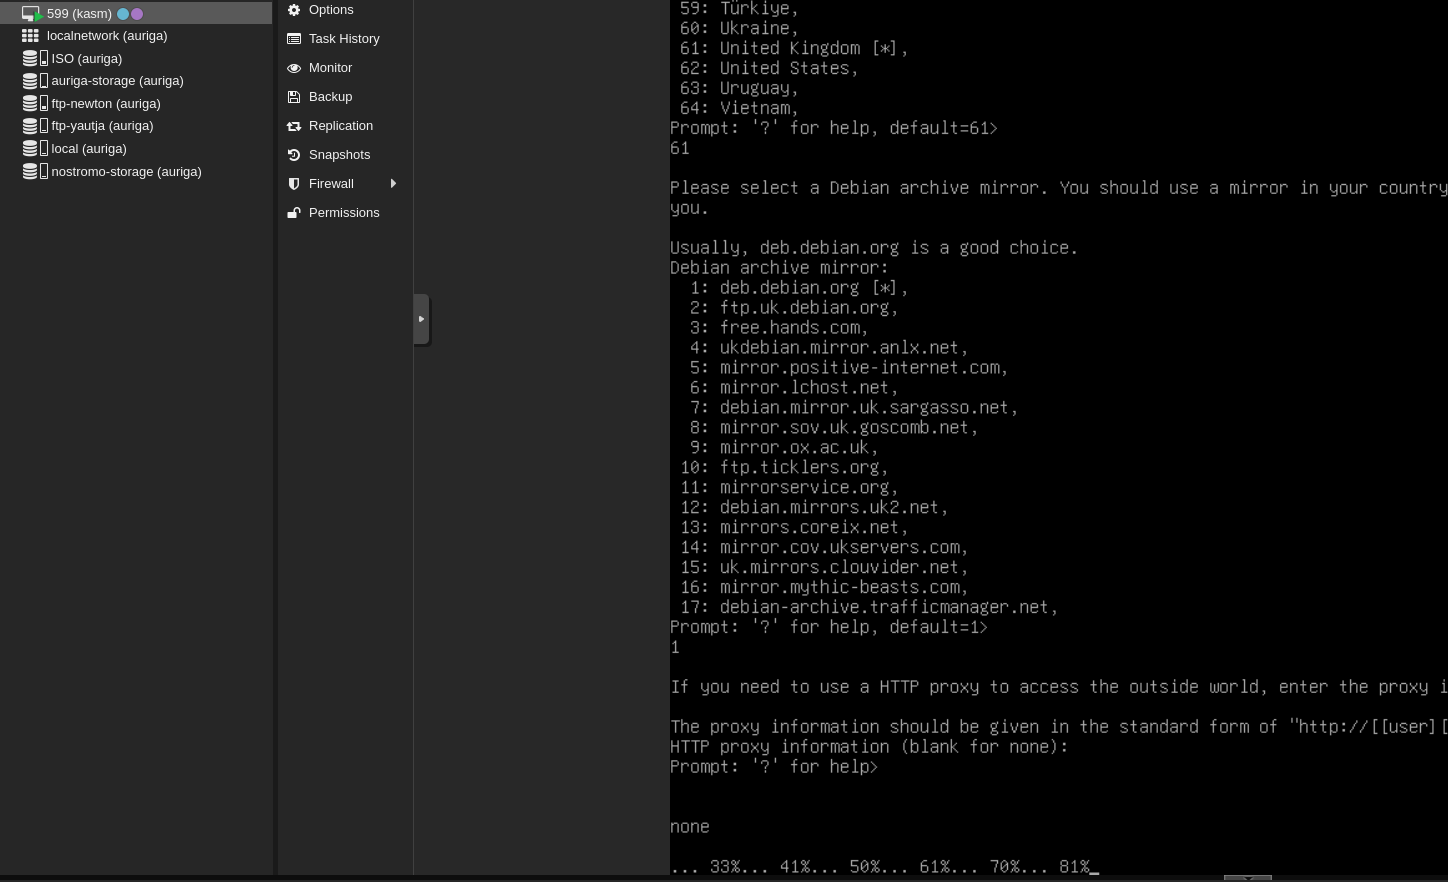
sudo apt update && sudo apt upgrade -yStep 2: Installing Docker on Ubuntu
KASM requires Docker for its deployment. Follow these steps to install Docker:
- Update the Package List:
sudo apt update2. Install Required Packages:
sudo apt install apt-transport-https ca-certificates curl software-properties-common -y3. Add Docker’s Official GPG Key:
curl -fsSL https://download.docker.com/linux/ubuntu/gpg | sudo apt-key add -4. Add Docker Repository:
sudo add-apt-repository "deb [arch=amd64] https://download.docker.com/linux/ubuntu $(lsb_release -cs) stable"5. Install Docker:
sudo apt update
sudo apt install docker-ce -y6. Verify Docker Installation:
sudo systemctl status dockerStep 3: Installing KASM Workspaces
Now that Docker is installed, we can proceed with the KASM Workspaces installation:
Download KASM Installer:
curl -O https://kasm-static-content.s3.amazonaws.com/kasm_release_x.x.x.x.tar.gzExtract the Installer:
tar -xf kasm_release_x.x.x.x.tar.gzRun the Installer:
cd kasm_release
sudo ./install.shAccessing KASM Workspaces…
Open a Web Browser: Open your web browser on your local machine. Access the KASM Interface: Go to the IP address of your Ubuntu VM on port 443, for example, https://<your-vm-ip>:443. Login: Login with the provisional admin account details provided during installation. For security concerns, first, change the default password upon login.
Step 5: Configure some KASM Workspaces
Create User Accounts: Go to the admin panel and create user accounts if needed. Setup Workspaces: Set up workspaces according to your needs. KASM allows you to set up different browser environments and also a bunch of applications. Apply Security Policies: Apply security policies to ensure safe browsing practices—a feature that plays a significant role in stopping access to sensitive data.
This enhances postures of security further by setting one of the key RBI workspaces—KASM—inside your home lab using a VM within Proxmox. Being an entirely isolated browsing, hence the definition of security is spotted here. The guide has helped you install a VM, and Docker, deploy KASM workspaces, and configure them according to your requirements. This will provide you with a safe and very efficient browsing environment in your home lab. Do share your experiences and views or post any queries in the comment box below. Happy Browsing!
By following these steps, you should have a fully functional KASM workspace running within your home lab. Combined with this setup, not only security is enhanced but powerful functionalities of Proxmox and KASM provide a solid and isolated browsing environment.
My KASM Desktop deluxe session –
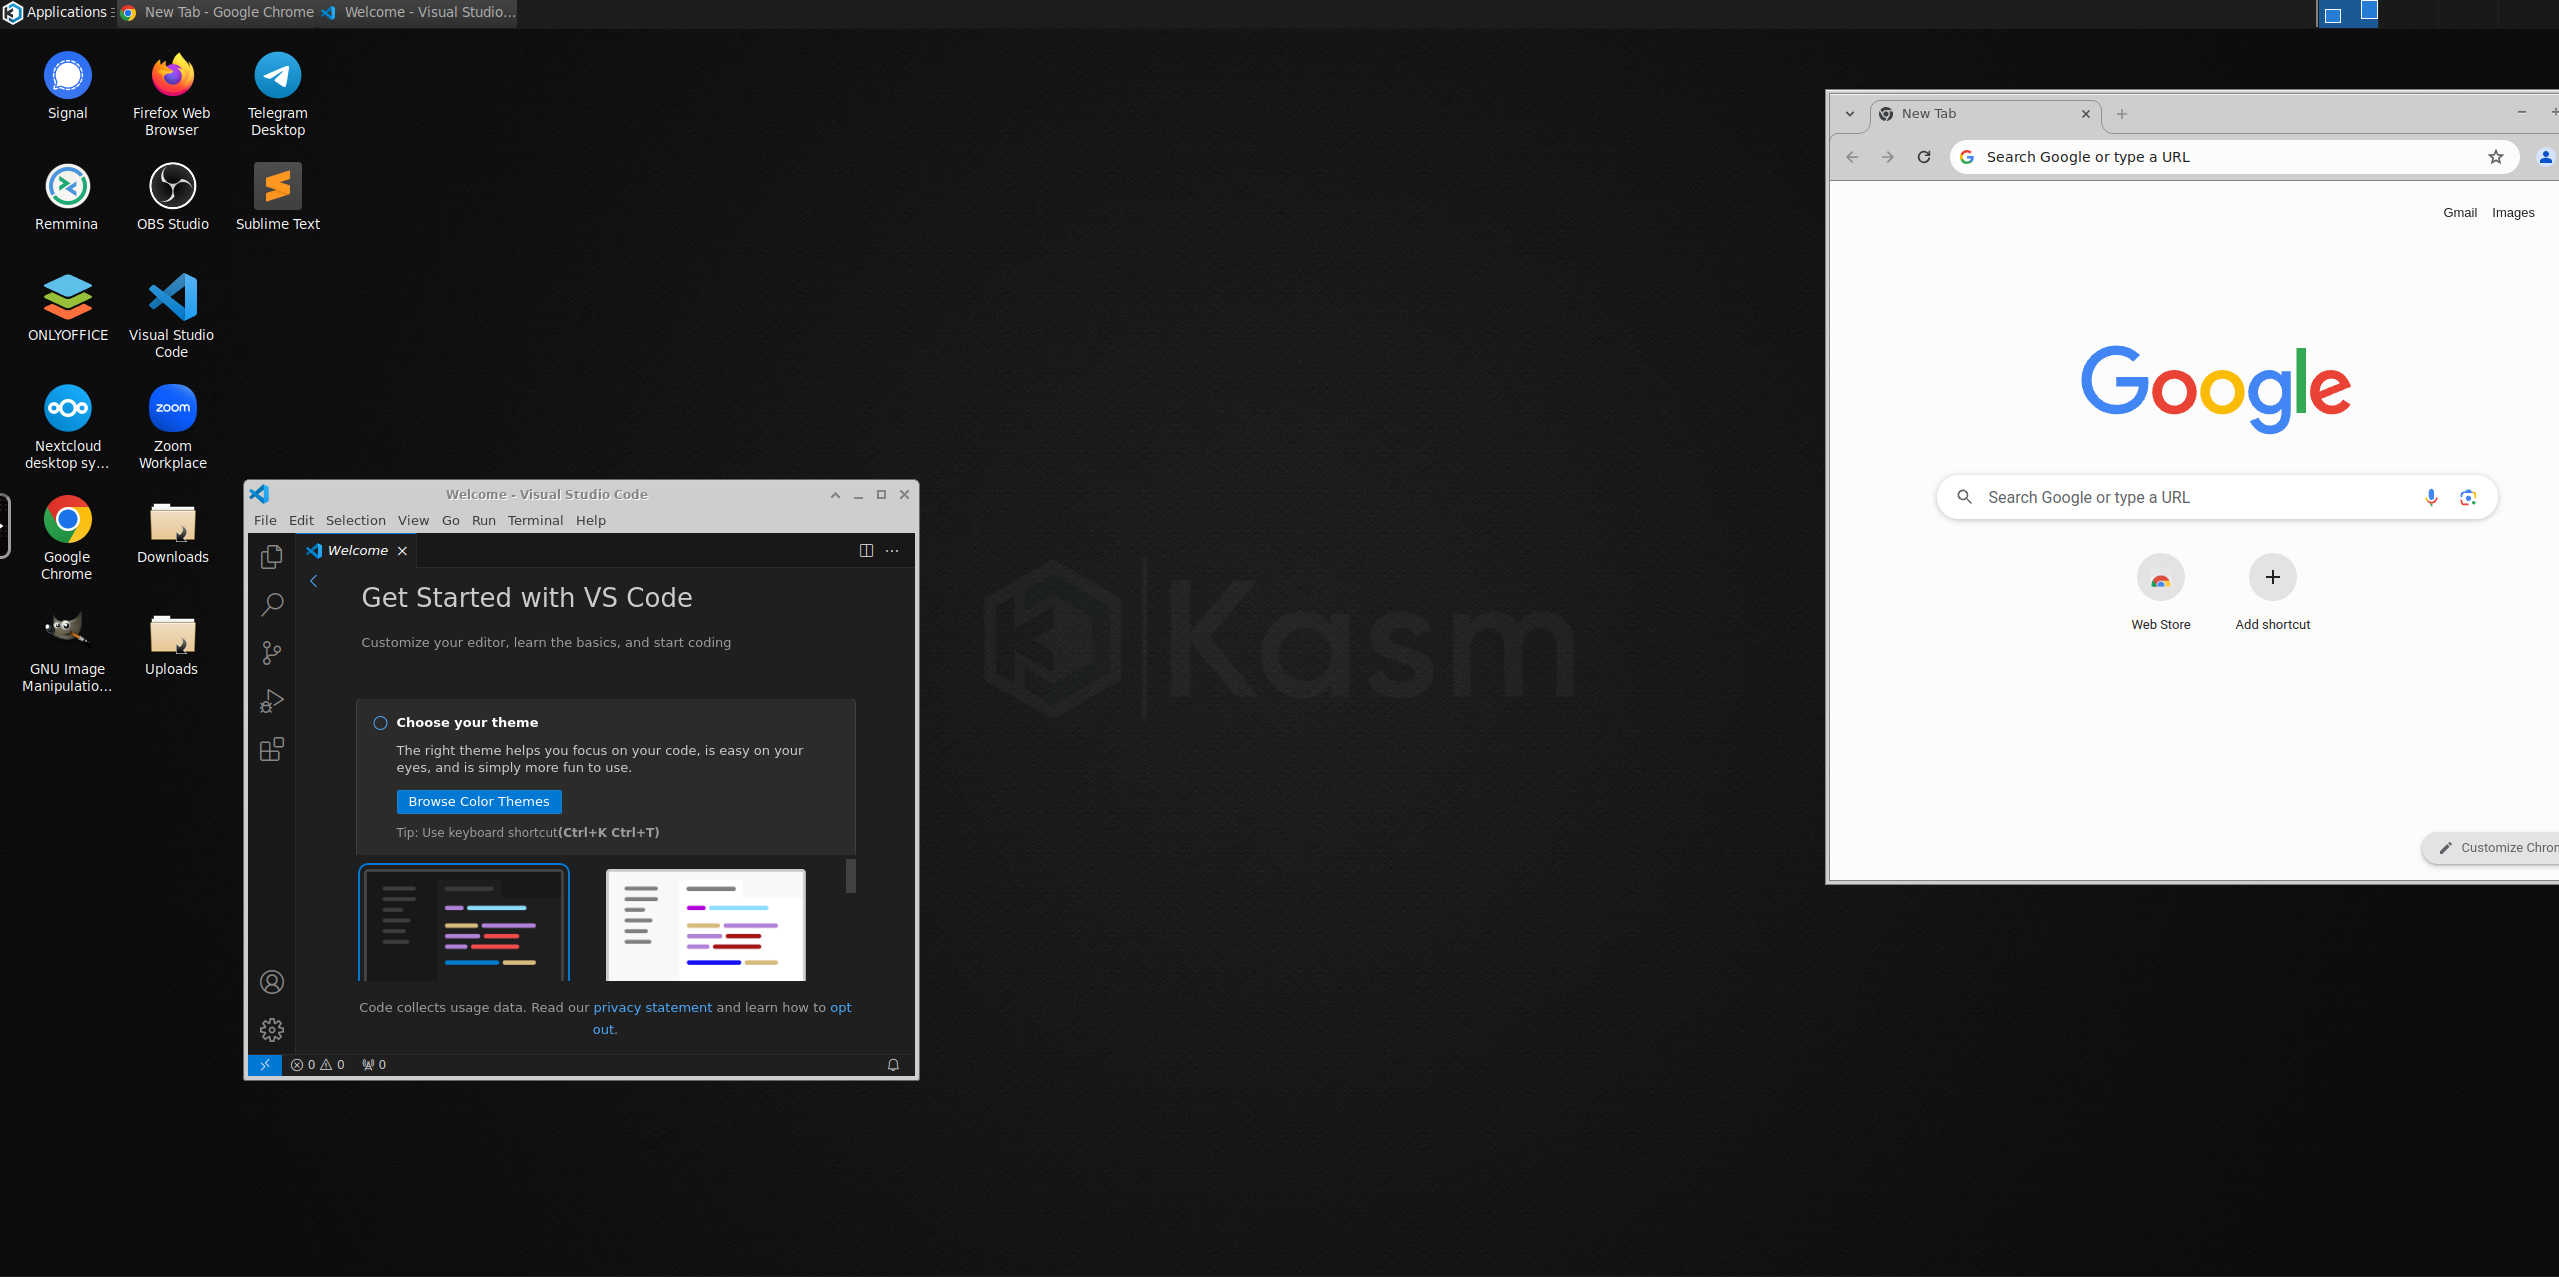
All this, in YOUR browser! Nifty, isn’t it?