
The Raspberry Pi is a versatile and powerful single-board computer used for a wide range of projects.
Whether you’re running a web server, a media centre, or a home automation system, it’s crucial to regularly back up your data and system image to safeguard against unforeseen events. In this guide, we’ll walk you through the process of backing up your Raspberry Pi, step by step.
- Creating a Backup of the Raspberry Pi Image
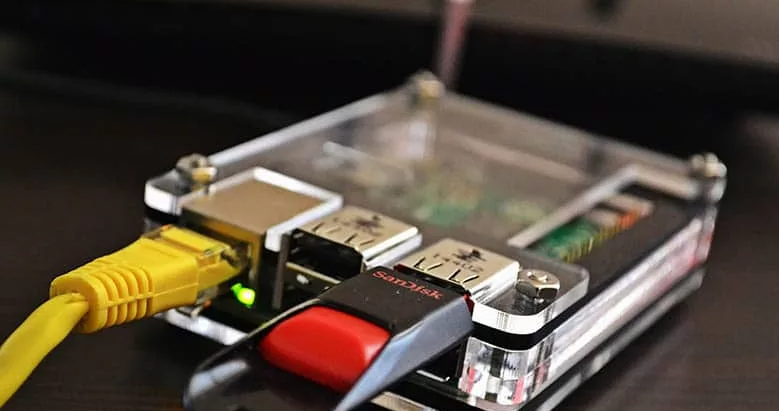
- Step 1: Prepare Your External Storage
- Format the external storage device (e.g., USB drive or SSD) in a compatible format (usually FAT32 or exFAT).
- Step 2: Install Required Software
- Open a terminal on your Raspberry Pi and make sure your system is up to date:
- Step 1: Prepare Your External Storage
sudo apt-get update && sudo apt-get upgrade -y- Install the
ddtool, which is used for creating disk images:
sudo apt-get install -y coreutils- Step 3: Create the Raspberry Pi Image Backup
- Run the following command to create an image of your SD card:
sudo dd if=/dev/mmcblk0 of=/path/to/backup.img bs=4M status=progress4. Creating a Backup of Your Data
- Step 1: Identify Critical Data
- Determine which files and directories contain important data for your projects.
- Step 2: Copy Files to External Storage
- Use
rsyncorcpcommand to copy files to your external storage device:
- Use
rsync -av /path/to/source /path/to/destinationReplace /path/to/source with the source directory and /path/to/destination with the destination directory on your external storage.
- Automating Backups (Optional)
- Option 1: Using Cron Jobs
- Create a cron job to schedule backups at specific intervals.
- Option 2: Using Backup Software
- Explore specialized backup software like
rsnapshotorRclone.
- Explore specialized backup software like
- Option 1: Using Cron Jobs
- Restoring from a Backup
- Restoring the Raspberry Pi Image
- Use a tool like
ddto write the image back to your SD card:
sudo dd if=/path/to/backup.img of=/dev/mmcblk0 bs=4M status=progress - Use a tool like
- Restoring Data Files
- Copy the backed-up files back to their original locations.
- Restoring the Raspberry Pi Image
- Best Practices and Tips
- Regularly schedule backups to ensure your data is always up to date.
- Label and organize your backups for easy identification.
- Store backups safely and securely to protect against physical damage or theft.
Congratulations! You’ve successfully learned how to back up your Raspberry Pi image and data, ensuring your projects and data remain safe and secure.
Remember, regular backups are crucial to maintaining a reliable and robust Raspberry Pi system. Implementing these practices will give you peace of mind knowing that your hard work and projects are protected. Happy coding!