

Before diving into the tutorial, let me explain a bit about Homarr. As of my last update, Homarr is a web application that allows users to control and manage smart home devices. It’s often deployed using Docker, a containerization platform, and Portainer, a user-friendly Docker management tool. The process typically involves setting up containers, configuring them, and managing the deployment using Portainer’s interface.
Here’s a step-by-step guide on deploying and installing Homarr using Docker and Portainer:
Prerequisites:
- Docker Installed: Ensure Docker is installed on your system.
- Portainer: Have Portainer up and running. Access its web interface.
- Familiarity with Homarr: Understand the basic functionalities and requirements of Homarr.
Docker Installation:
Ensure Docker is installed on your machine. Docker provides comprehensive installation guides for various operating systems on their website. Verify the installation by running docker --version in your terminal.
Portainer Setup:
If you haven’t installed Portainer yet, you can deploy it using Docker. Run the following command:
docker volume create portainer_data
docker run -d -p 9000:9000 --name=portainer --restart=always -v /var/run/docker.sock:/var/run/docker.sock -v portainer_data:/data portainer/portainer-ceSteps:
1. Create a Docker Network (optional but recommended):
- Open Portainer and navigate to the “Networks” section.
- Create a new network for Homarr using the “+ Add network” button. Name it, and choose the type (bridge, overlay, etc.).
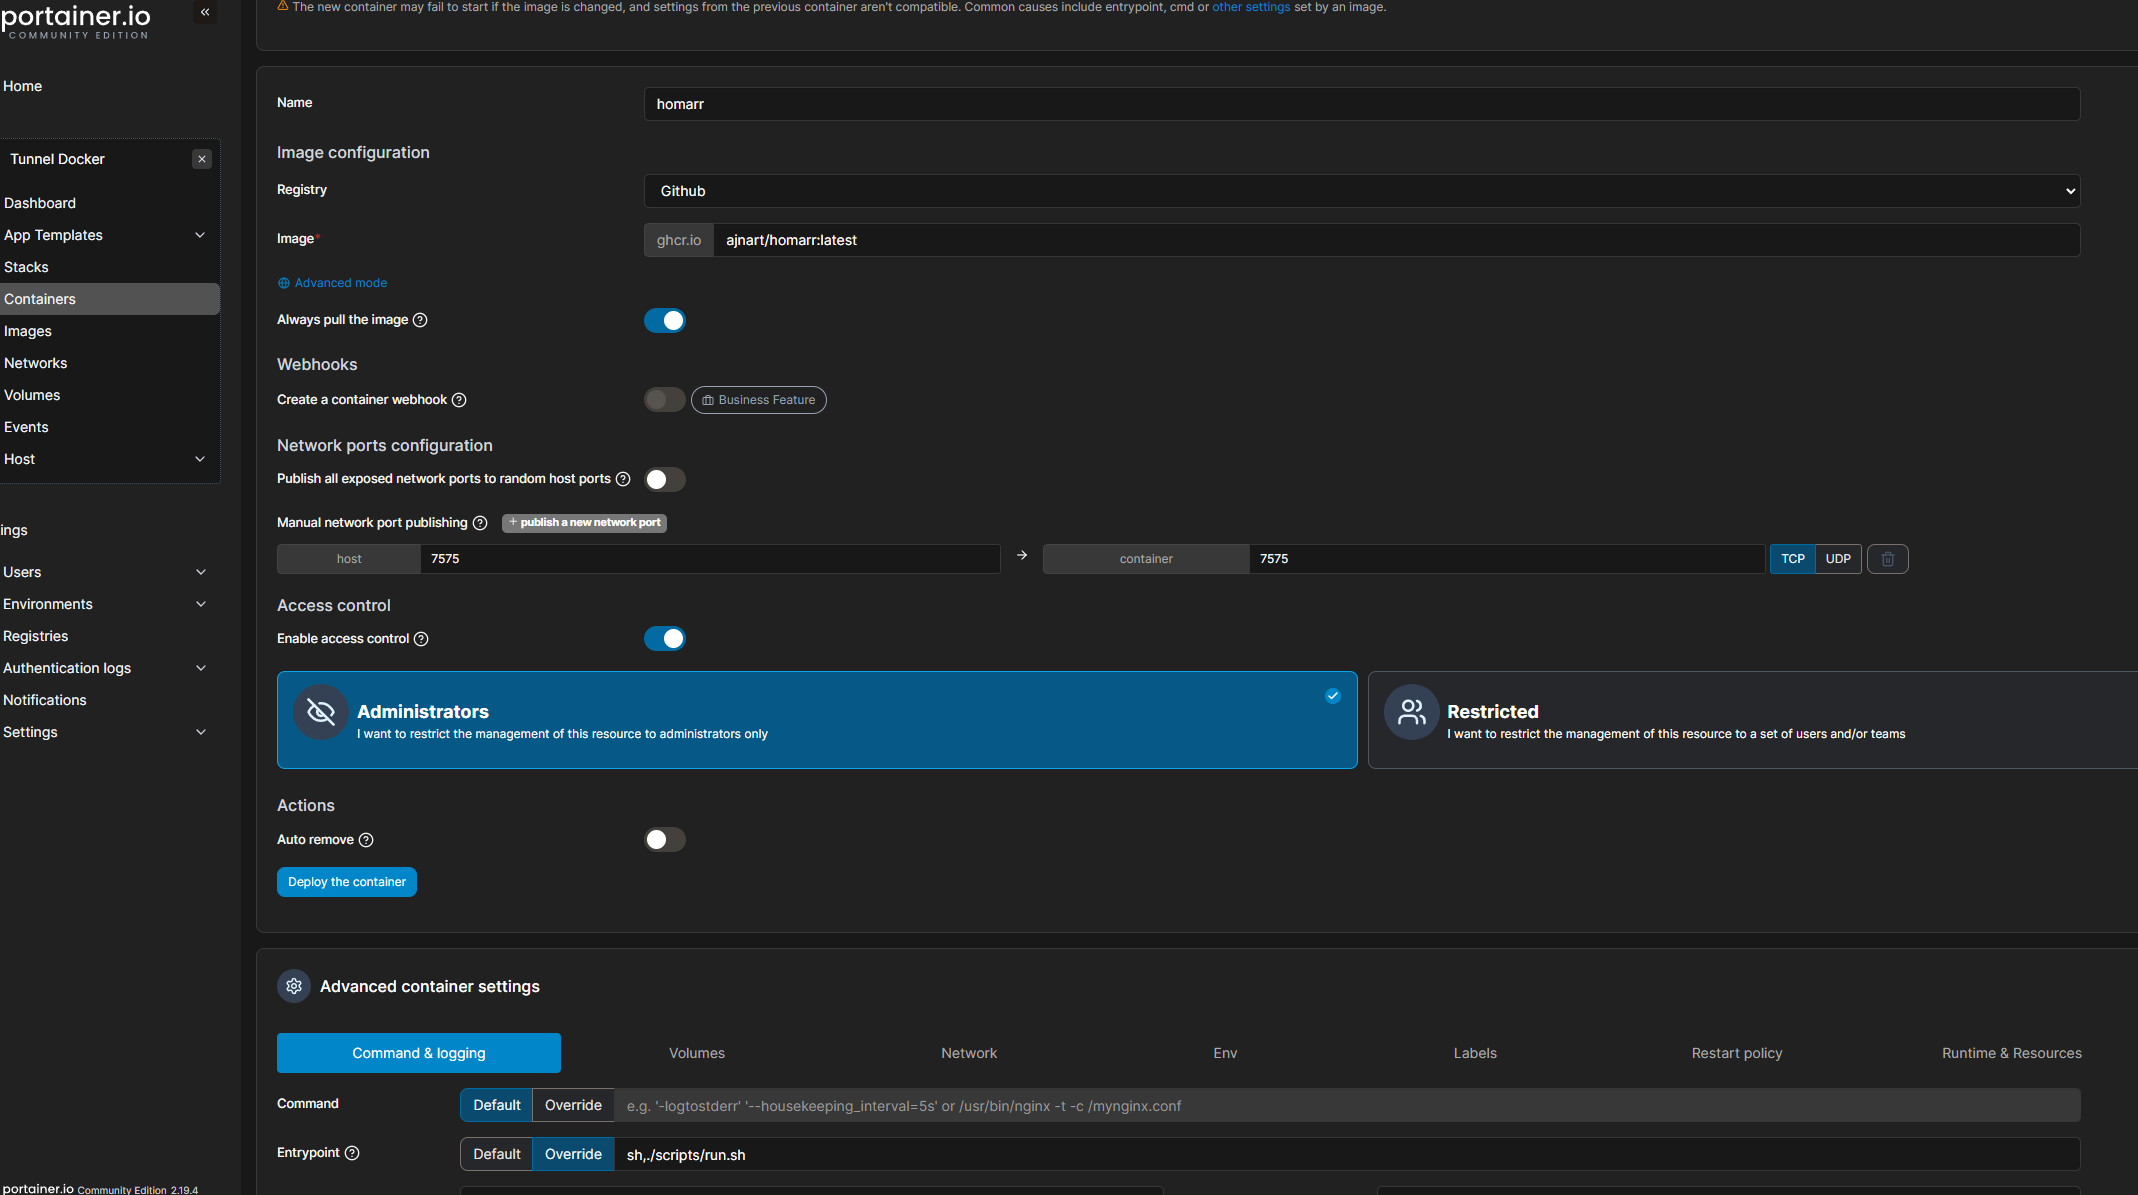
2. Setting up Homarr Container:
- In Portainer, go to “Containers” and click on “+ Add Container.”
- Fill in the required details:
- Name: Give your container a recognizable name (e.g., homarr).
- Image: Use the Homarr Docker image. You can find this on Docker Hub.
- Ports: Map the ports required by Homarr (e.g., 80:80 for HTTP).
- Network: Attach the container to the network created in step 1 (if applicable).
- Environment Variables: Set any necessary variables required by Homarr (e.g., database connection details).
- Volumes (if needed): Map any persistent data volumes if Homarr requires storage.
3. Configure Homarr:
- Once the container is created, access its console or settings within Portainer to configure Homarr.
- Follow the documentation or instructions provided by Homarr to set it up according to your preferences and requirements.
4. Start the Homarr Container:
- After configuring, start the Homarr container within Portainer.
- Monitor the logs to ensure it starts without errors. Resolve any issues if encountered.
5. Access Homarr:
- Once the container is running without issues, access Homarr through your web browser.
- Enter the necessary details to log in or set up an admin account as per Homarr’s instructions.
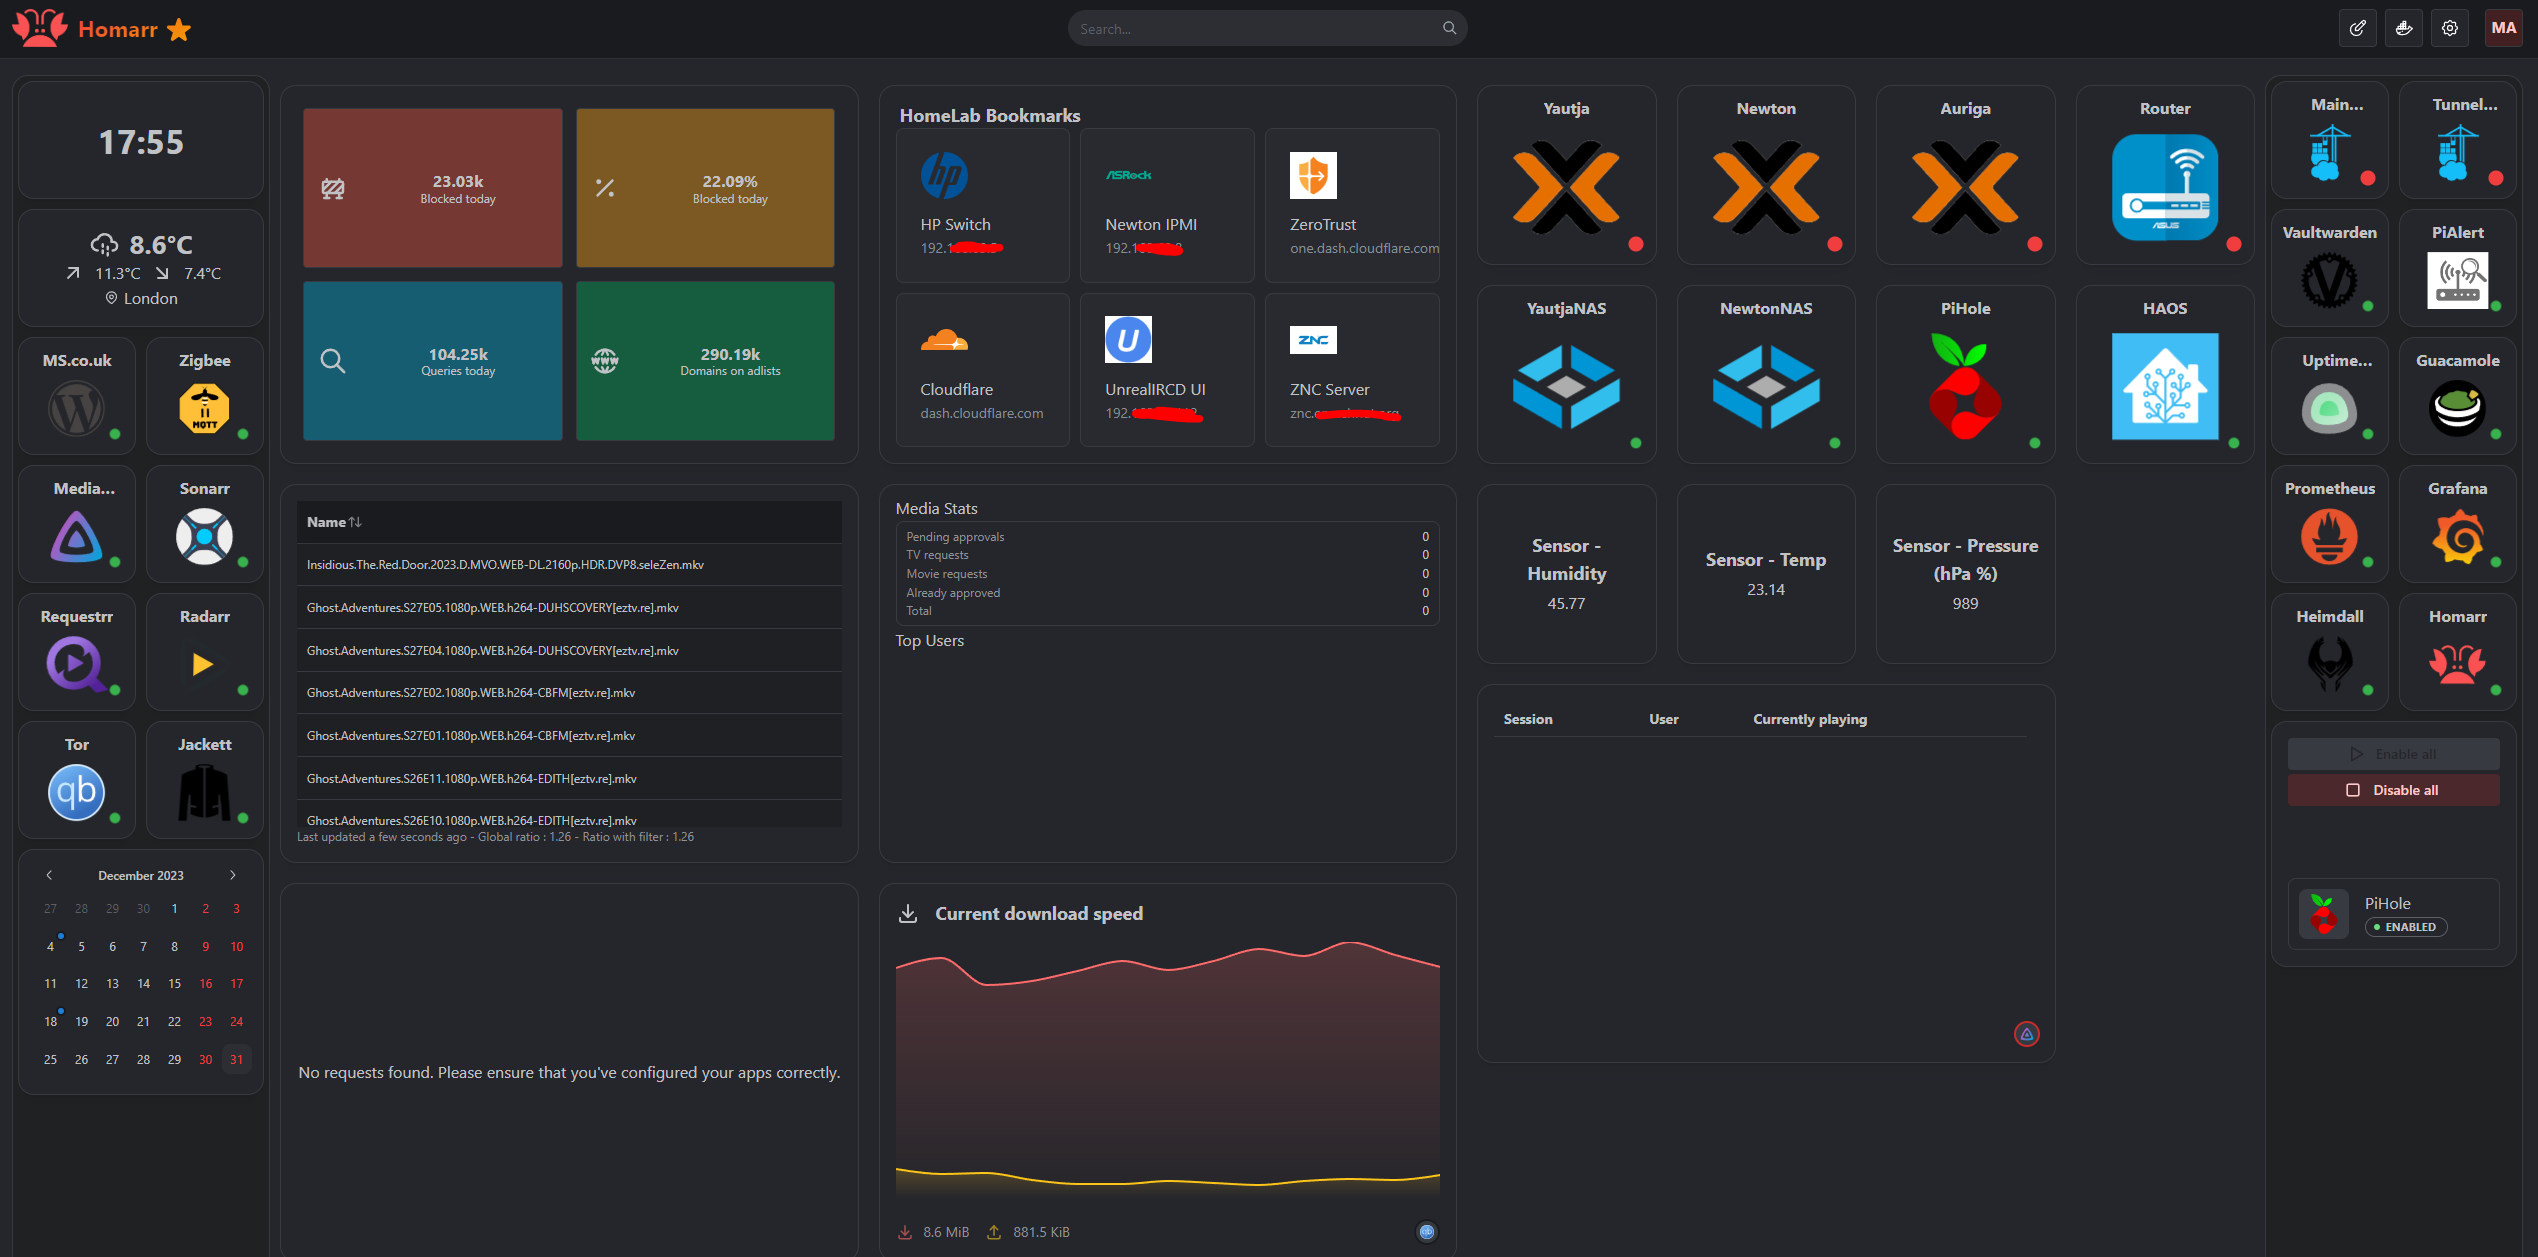
This is what my current dashboard looks like. I’m still working on it but I am definitely sticking to this dashboard and moving away from Heimdall.
Homarr Container Configuration:
Details to Consider:
- Image Selection: Use the correct Homarr Docker image version suitable for your setup.
- Port Mapping: Ensure the required ports are mapped correctly (e.g., HTTP on port 80).
- Network Attachment: Connect the container to the previously created “homarr_network” for controlled communication.
- Environment Variables: Set variables essential for Homarr’s functionality (e.g., database connection strings, API keys).
Configuration and Initialization:
Accessing Container Settings:
- Locate the Homarr Container: In Portainer, find the Homarr container under “Containers” and access its settings.
- Environment Variables: Set environment variables specific to Homarr. This might include database configuration, API keys, or any settings necessary for its functionality.
- Secrets or Sensitive Data Handling: If Homarr requires sensitive information (like passwords), consider using Docker secrets or other secure methods to handle such data.
Troubleshooting and Maintenance:
Container Logs and Monitoring:
- Accessing Logs: In Portainer, navigate to your Homarr container and locate the logs section. Check for any error messages or warnings during startup or operation.
- Resource Monitoring: Monitor resource usage (CPU, memory) of the Homarr container within Portainer to ensure it operates efficiently and doesn’t exceed allocated resources.
Handling Updates:
- Updating Homarr: Regularly check for updates to the Homarr Docker image. To update:
- Stop the existing container.
- Pull the latest Homarr image.
- Recreate the container with the updated image and configurations.
Advanced Considerations:
Volumes and Persistent Data:
- Mapping Volumes: If Homarr requires persistent data storage (like user configurations, logs), map volumes between the container and the host machine using Portainer.
- Backup Strategies: Establish backup routines for critical Homarr data stored within these volumes to prevent data loss.
Security Best Practices:
- Container Hardening: Implement container security best practices, such as limiting container privileges, utilizing secure connections (HTTPS), and applying container-specific security policies.
By paying attention to these detailed steps and considerations, you’ll set up Homarr within Docker using Portainer more comprehensively and securely. Each step contributes to the stability, security, and functionality of the deployed Homarr instance.