In today’s digital age, safeguarding our valuable data has become paramount. Losing essential files or experiencing system failures can be devastating. Fortunately, I discovered an excellent solution that seamlessly synchronizes data between my PC and the main server: Syncthing. In this article, I will share my experience and guide you through setting up Syncthing as a reliable backup solution.
Why Syncthing? Before delving into my personal experience, it’s essential to understand why Syncthing stands out among other backup tools. Syncthing is an open-source file synchronization program that enables secure, continuous synchronization across multiple devices. It eliminates the need for cloud storage or third-party servers, putting you in control of your data. With Syncthing, your files remain on your devices, and the synchronization process occurs directly between them, ensuring utmost privacy and security.
Setting up Syncthing:
-
- Setting up Syncthing is remarkably straightforward, even for those with limited technical knowledge. Here’s how I got started:
-
- Download and Install: Begin by downloading the Syncthing application from the official website (syncthing.net) onto both your PC and main server.
-
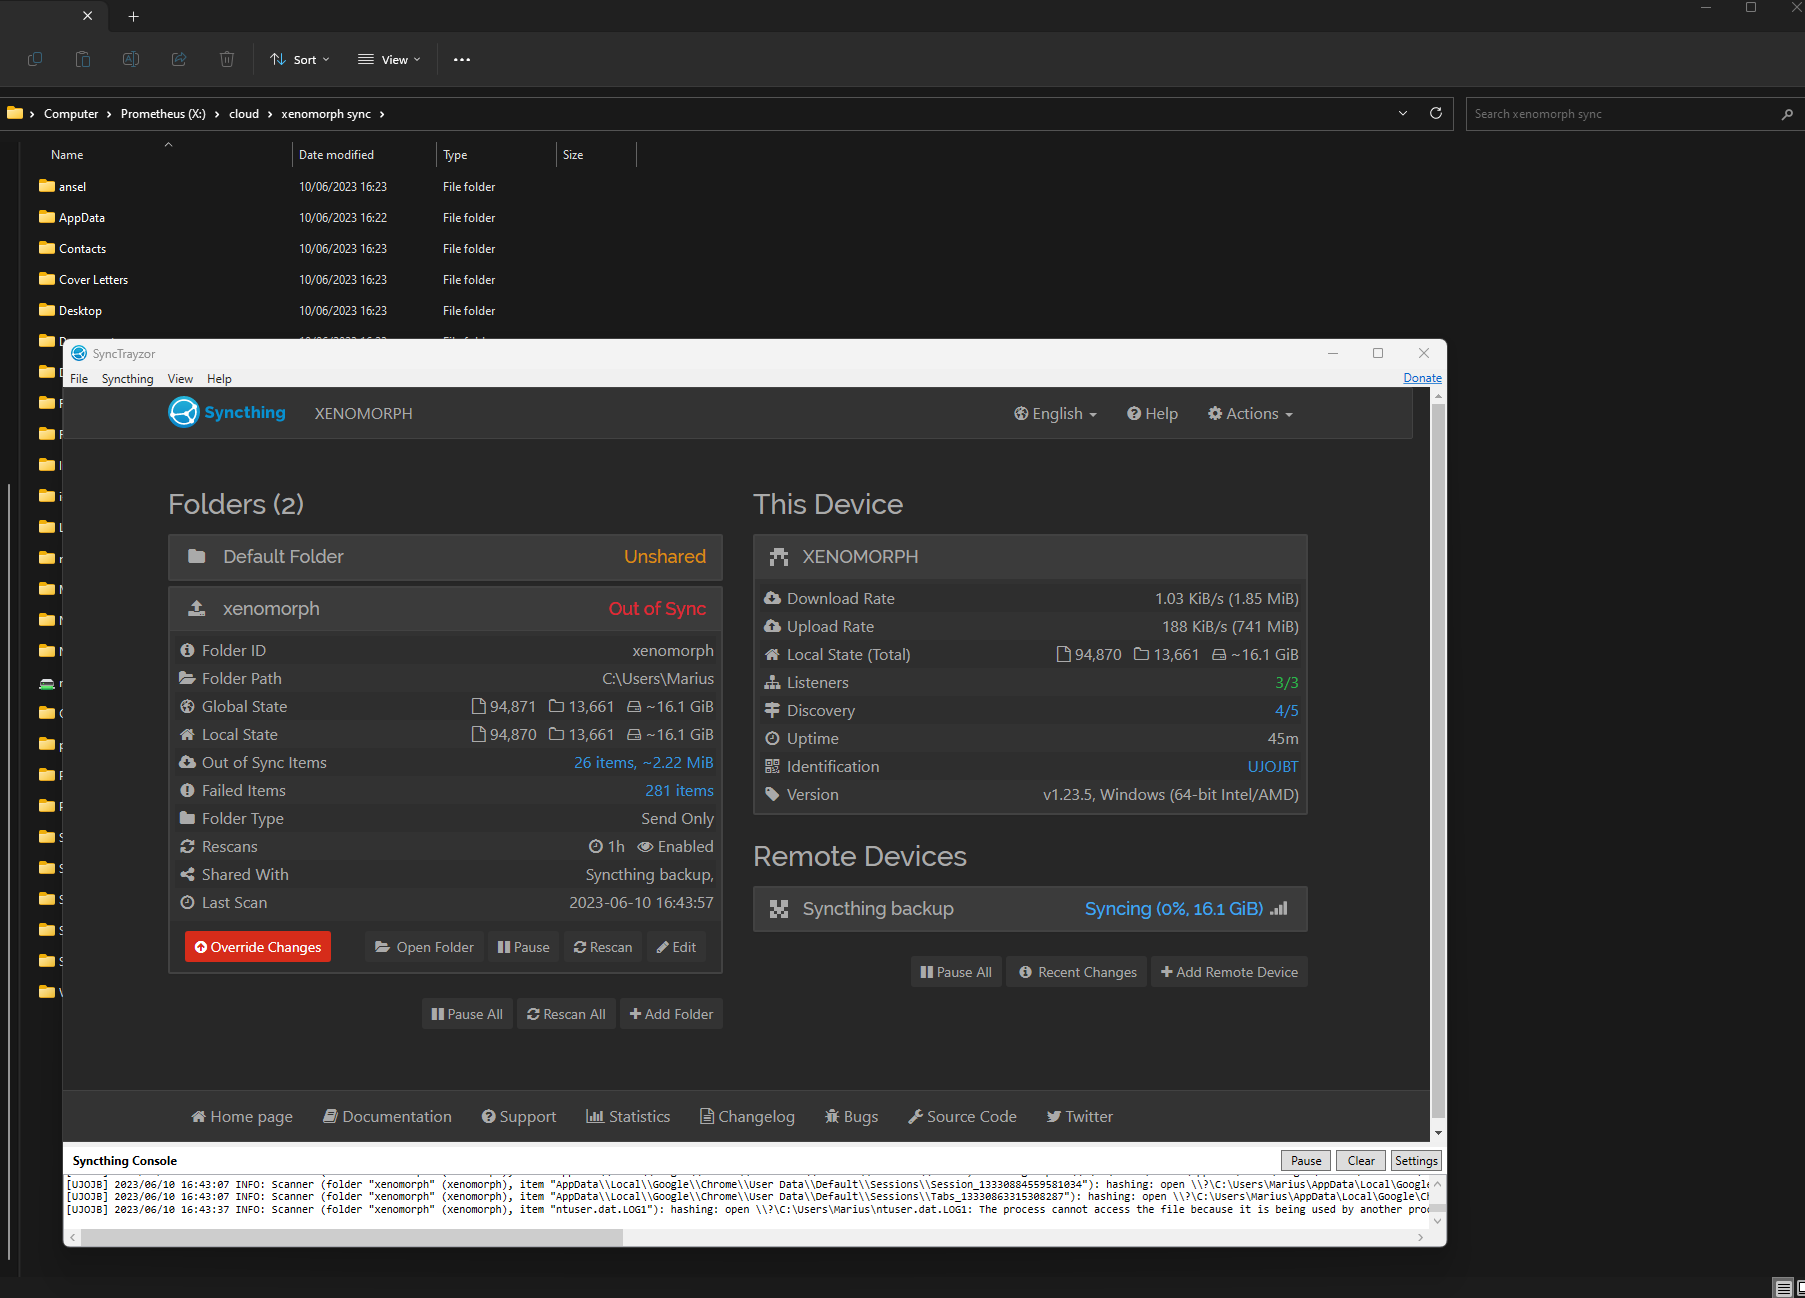
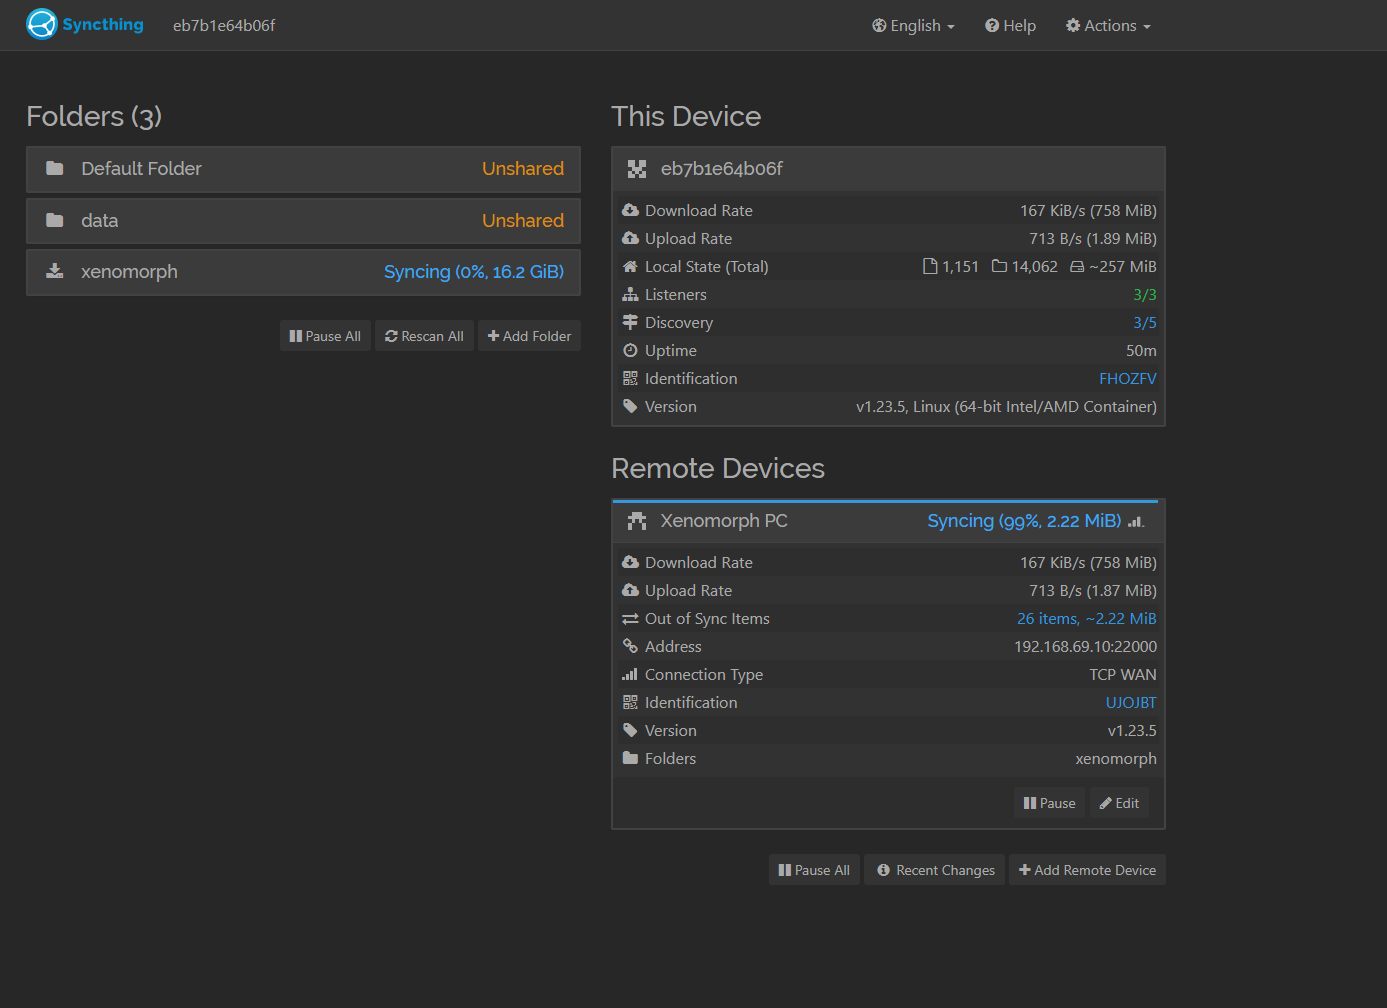
- Configuration: Launch Syncthing on each device and configure them individually. Assign unique device names and ensure both devices are connected to the same network.
-
- Folder Setup: Identify the folders you wish to sync between your PC and server. Select the folders on each device that you want to back up and specify them within the Syncthing interface.
-
- Device Pairing: In Syncthing, initiate the process of device pairing. On your PC, input the device ID of your server, and vice versa. This establishes a secure connection between the two devices.
-
- Folder Sharing: Once devices are paired, share the folders you want to sync. Select the folders you want to back up from your PC and grant access to your server. Repeat this step in reverse to sync folders from the server to your PC.
- Synchronization Preferences: Syncthing offers a range of synchronization options. Tailor these preferences according to your needs, such as enabling automatic synchronization, defining file versioning rules, or setting up specific time intervals for updates.
Advantages of Syncthing
Implementing Syncthing as my backup solution has yielded numerous advantages:
-
- Security and Privacy: With Syncthing, your data remains under your control. Files are synchronized directly between devices without reliance on external servers or cloud storage, ensuring utmost privacy and security.
-
- Continuous Sync: Syncthing continuously monitors changes in your folders, instantly synchronizing any modifications across devices. This real-time syncing minimizes the risk of data loss and ensures seamless access to the latest files.
-
- Cross-Platform Compatibility: Syncthing is compatible with various operating systems, including Windows, macOS, Linux, and even mobile platforms such as Android. This versatility allows for effortless synchronization across a diverse range of devices.
-
- Scalability: Whether you need to sync a few files or an extensive collection, Syncthing can handle it. Its scalability makes it suitable for personal use as well as small to medium-sized businesses.
-
- Intuitive Interface: Syncthing’s user-friendly interface simplifies the setup process, making it accessible to users of all technical levels. Even without prior experience, you can quickly get up and running with Syncthing.
By embracing Syncthing as my backup solution, I have achieved peace of mind knowing that my important files are securely synchronized between my PC and the main server. Syncthing’s simplicity, privacy, and continuous synchronization capabilities make it an exceptional choice for individuals and businesses alike. I encourage you to explore this remarkable


