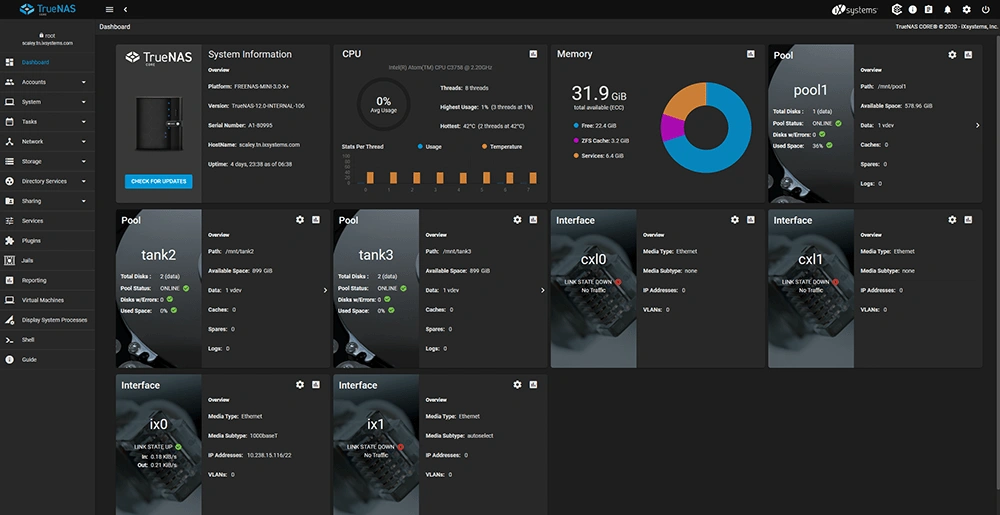
When I first decided to set up a home lab, I knew that I needed a reliable storage solution to store all my virtual machines and data. After researching various options, I decided to give TrueNAS a try. TrueNAS is an open-source network-attached storage (NAS) platform that provides enterprise-level features and reliability. In this blog post, I will share my experience with deploying and using TrueNAS in my home lab, including how I virtualized it using Proxmox and set it up with different users and access levels.
Step 1: Research and Planning
The first step in my journey was to research and plan my TrueNAS deployment. I read through the TrueNAS documentation and forums to gain a better understanding of the platform and its capabilities. I also made a list of the features and functionality that I needed for my home lab, such as virtualization support, data redundancy, and user access control.
Step 2: Virtualizing TrueNAS with Proxmox
Once I had a clear understanding of what I needed, I moved on to the next step: virtualizing TrueNAS using Proxmox. I used Proxmox to create a new virtual machine and installed TrueNAS on it. I then configured the virtual machine with the necessary resources, such as CPU, RAM, and storage.
Step 3: Configuring TrueNAS
After virtualizing TrueNAS, I moved on to configuring it. I created new storage pools and datasets and set up data redundancy using RAID. I also configured the network settings and created different shares for different users.
Step 4: Setting up Users and Access Control
One of the key features I needed for my home lab was the ability to set up different users and access levels. TrueNAS provides a robust user and group management system, which made it easy to set up different users and assign them to different groups. I created different shares for different groups and set up permissions to control access to the shares. I also set up authentication methods like Active Directory and LDAP to provide secure access to the shares.
Step 5: Pass-through Storage
To get the most out of my storage, I decided to pass through the storage to my virtual machines running on Proxmox. This allowed me to use the storage in TrueNAS directly from my virtual machines, giving me more flexibility and control over my storage. I configured the pass-through storage on Proxmox and set up the virtual machines to use the storage directly.
Step 6: Setting up Network Services
Finally, I set up network services like Samba and NFS to provide access to my shares over the network. I configured the services to work with the different users and access levels that I had set up. I also set up network shares and exported them to my virtual machines, which allowed me to access the files from any device on my network.
Deploying TrueNAS in my home lab was a valuable learning experience. TrueNAS provided the robust and reliable storage solution that I needed for my virtual machines, and the ability to virtualize it using Proxmox made it easy to manage. With its user and group management system, I was able to set up different users and access levels, and the pass-through storage and network services provided the flexibility and access that I needed. TrueNAS has proven to be a great storage solution for my home lab and I highly recommend it to anyone looking for a reliable and powerful storage solution.
