Proxmox is an open-source virtualization platform that allows you to easily create and manage virtual machines. In this tutorial, we will walk through the process of installing Proxmox on a bare-metal server.
Before getting started, make sure that you have a bare-metal server with at least 2 GB of RAM, and a minimum of 20 GB of storage. Additionally, the server should have a 64-bit processor, as Proxmox is only compatible with 64-bit systems.
Step 1: Download the Proxmox ISO
The first step is to download the Proxmox ISO image from the Proxmox website. The ISO image can be found at the following link: https://www.proxmox.com/en/downloads.
Step 2: Create a Bootable USB
Once you have downloaded the ISO image, you will need to create a bootable USB drive. This can be done using a program such as Rufus or even better, VENTOY! (I will be posting about Ventoy in the future)
Step 3: Boot from the USB
Insert the bootable USB drive into the bare-metal server and power it on. Press the appropriate key to enter the boot menu (usually F12 or Del) and select the USB drive from the list of boot options.
Step 4: Install Proxmox
The Proxmox installation process is similar to a standard Linux installation. Follow the prompts to select your language, keyboard layout, and partition scheme. Be sure to select the option to install Proxmox on the entire disk.
Step 5: Configure Networking
During the installation process, you will be prompted to configure networking. Make sure to enter the correct IP address, netmask, and gateway for your network.
Step 6: Complete the Installation
Once the installation is complete, the system will reboot and you will be presented with the Proxmox login screen. Log in with the username and password you set during the installation process.
Step 7: Configure Proxmox
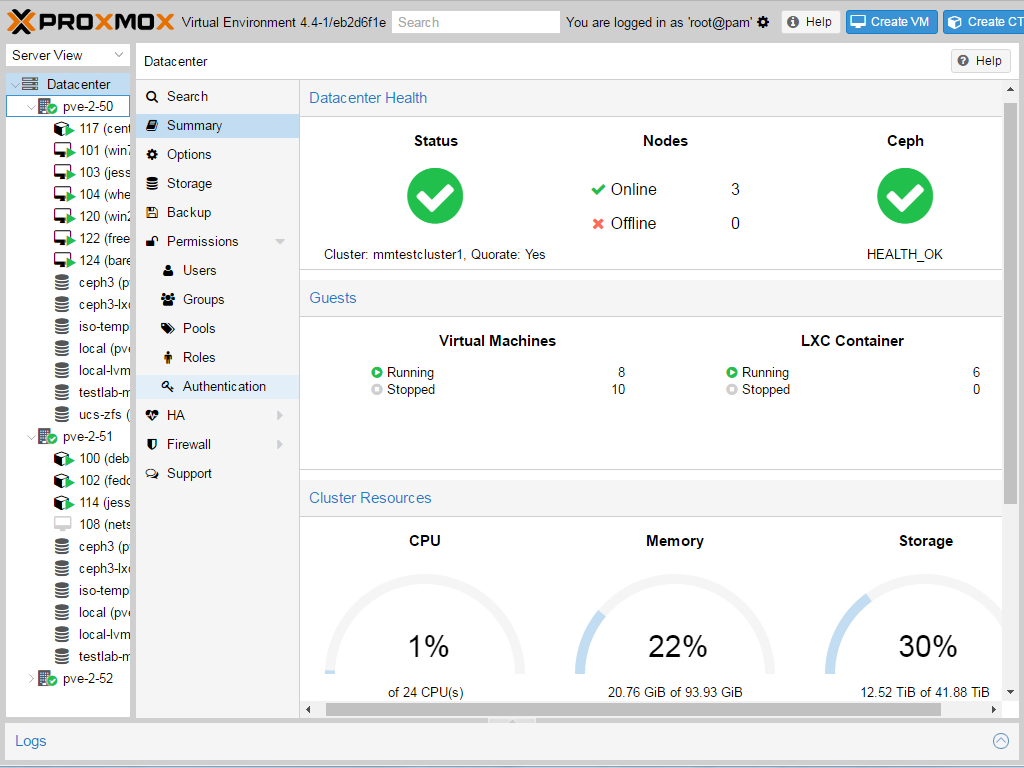
After logging in, you will be presented with the Proxmox web interface. From here, you can create and manage virtual machines, configure storage, and access other settings.
It’s important to note that installing Proxmox on a bare-metal server will erase all data from the server, so make sure to back up any important data before proceeding with the installation. Also, you should have a good understanding of the hardware and network configuration of the server before starting the installation process.
Installing Proxmox on a bare-metal server is relatively simple, but it requires a good understanding of the hardware and network configuration of the server. By following this tutorial, you should be able to install Proxmox on a bare-metal server and start creating and managing virtual machines.
